
 Yahoo Finance
 Behold: A Kid-Friendly Desk Project That You Can Make With Your Little One
"Hearst Magazines and Yahoo may earn commission or revenue on some items through the links below."
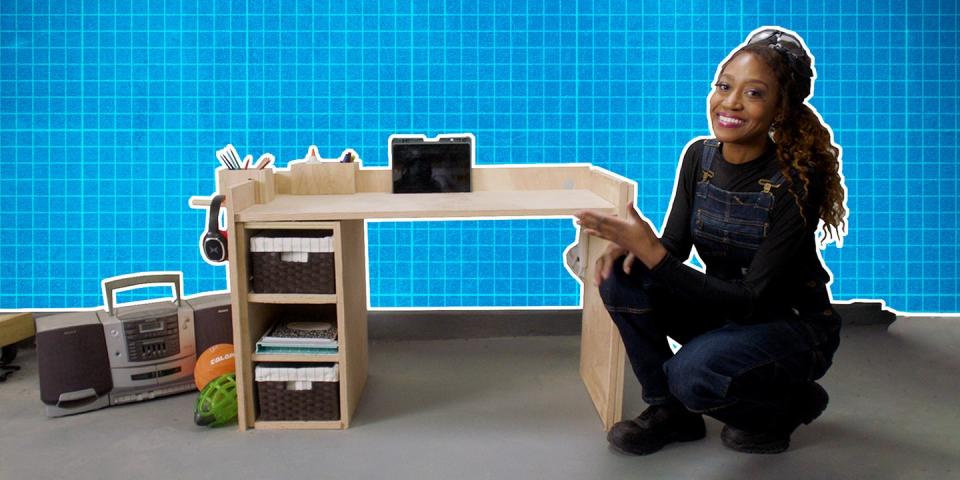
If you're an avid DIY'er and love to build your own things, but have been wondering how to get your kids involved in the creative process, we have just the thing: a kid-friendly desk project that you can make together. This build is practical and features work space, plus space to hold tablets and laptops, and even storage to help keep everything organized.
🛠 Love to tinker? Let's build something rad together.
Char Miller-King, a woodshop expert who specializes in teaching both kids and adults, leads this POP Project. To start, you’ll need a jig saw, drill set, table saw, iron, miter saw, and a pocket hole jig. Then, you’ll work on cutting out the side panels and tabletop for the desk. Here are the measurements:
- (2) desk side panels at 18-inches x 27-inches each
- (1) tabletop at 18-inches x 40-inches
Note: the shelves are optional, but work really well for storage and organization. If you opt to include shelf space in your desk, here are the measurements you’ll need:
- (2) shelf side panels at 17-inches x 24-inches each
- (1) shelf top at 11-inches x 17-inches
- (1) shelf bottom at 11-inches x 17-inches
- (2) shelves at 11-inches x 17-inches each
- (1) piece of plywood to act as the back of the shelf at 6-inches x 40-inches
If you want to get a little snazzy, you can add a section of dry-erase board to fit one of the desk side panels—simply measure and cut to size. Next, you’ll use your miter saw to cut a frame for the dry erase board, as well as some 4-inch-wide pieces and 8-inch-wide pieces for the storage boxes that’ll hold items like pens and pencils. Next, cut some moulding for the desk and a dowel so that the kids have a place to hang their headphones. From here, Miller-King says to start drilling holes in the pieces you’ve cut to begin desk assembly, and then work on edge banding to get rid of the rough plywood edges. You’ll also want to have some wood glue on hand to help move the assembly process along.
⚠️Children should always be supervised by an adult or professional when handling any tools and/or machinery.
Miller-King uses wood glue, screws, and staples to bring the whole project together. She also adds functional touches like drilled holes for cords to fit through, a power strip glued to the interior of a side panel to keep devices charged, and reinforced space for a tablet.
What’s fun about this project—besides building it with your kids!—is that there’s a lot of room for creativity. You can stain the wood to customize the finished look and color, or leave it as is for a natural, rustic look. You can add even more shelving if your kid needs it or completely do without it if it’s not a necessity. The possibilities with this project are endless and your kids will learn some carpentry basics they can use in the future for their very own projects.
If you take on this build, we’d love to see the results—you can submit photos here. Happy building!
You Might Also Like
